
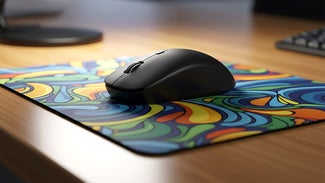
When you have a design that’s simply too good to contain to one part of a product, you need all-over printing.
We do all-over printing on a wide range of promo products – including magnets, mouse pads, signs, business cards, coasters, and labels – using a process called full bleed printing. It’s nowhere near as gross as it sounds, promise. Here’s how we get those clean edge-to-edge prints.
How Full Bleed Printing Works
We make sure your all-over print covers your product through a process called full bleed printing. To the intense relief of everyone, no blood is involved. It means printing beyond the size of the final product (so the ink “bleeds” over) and then trimming away the difference.
Say you’re ordering business cards that are 3.5” x 2”. We would print your design at 3.625” x 2.125”. There’s a 0.125” margin that will get cut off.
In that example, you’re doing the full bleed printing directly onto the product itself before it’s trimmed, using digital CMYK printing. (You can read more about CMYK printing on this blog post.) Other examples of this type of all-over printing include lawn signs, labels, and coasters.
Another common use for full bleed printing is in sublimation printing, when the design is printed onto a sheet of sublimation paper, which transfers it onto the product. This is how we print all-over mouse pads, towels, and t-shirts. In sublimation printing, the ink turns into a gas under heat and pressure, and blends with polymers in the material. Unlike other types of heat transfer, the design merges with the fabric, rather than sitting on top of it. This means that you get nice clean edges when you cut.
Managing the Margins
You might be thinking, “Wait a minute, doesn’t all this mean you’re cutting off part of my design?” It’s a logical question, but don’t worry: we take those margins into account when we set up your product for printing.
Here’s a template for one of our all-over printed mouse pads. You can see two dotted lines and one solid line.
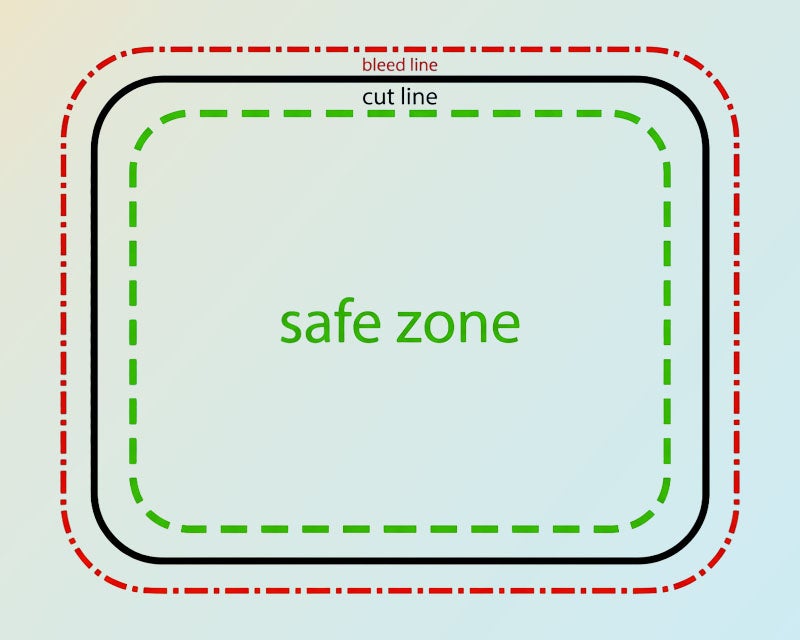
The solid line is called the cut line, and it represents the edges of the product (where it will be cut.)
The outer dotted line is the bleed: this is where we print to. You can see there’s a small margin between the cut line and the bleed. Everything between these lines will be cut out on the final product.
The inner dotted line is called the safety zone or safe area. You can see that it’s well inside the cut line, which means you can be 100% certain anything inside this inner dotted line will make it onto your final product.
When ordering a product that has an all-over print, you’ll often see that the imprint area we list on the product page is smaller than the product, even though the final print goes all the way to the edges. This is to make absolutely sure that all your important information is inside the safe zone.
For example, this mouse pad is 9″ x 7.5″ – that’s the product size and the dimensions of the cut line. We list the maximum imprint size as 7″ x 5.5″: that 2” margin guarantees that everything in your design will make the cut.
How to Design a Logo for a Full Bleed Product
Now that you know all this, don’t let it dampen your creativity the next time you want an all-over printed product. We’ll make sure your design looks great, and send you a proof before it goes to print, so you can check that all the important information will make it onto your final products.
All you have to do is make sure your design will fit within the maximum logo size listed on your item’s product page. They can be different even for very similar products – and as we explained, it might be smaller than the product itself, even on an all-over print – so it’s worth checking.

Step-By-Step of Printing a Mouse Pad
Here’s how all that looks in practice, when making a sublimation printed mouse pad:
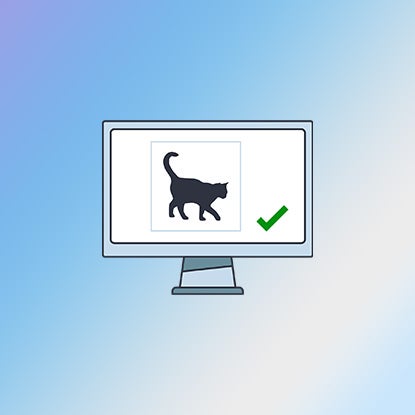
Step 1
The customer sends us a design that fits the maximum logo size listed on the product page.
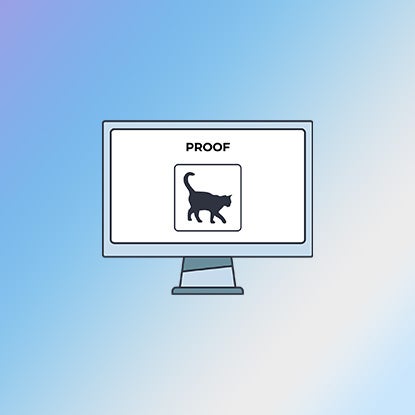
Step 2
We send a proof to make sure the customer is happy with how it will look.
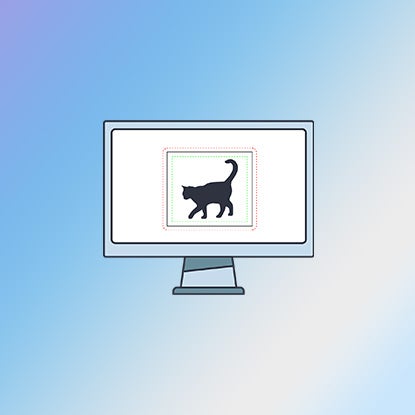
Step 3
We mirror the design and digitally add the bleed margins.
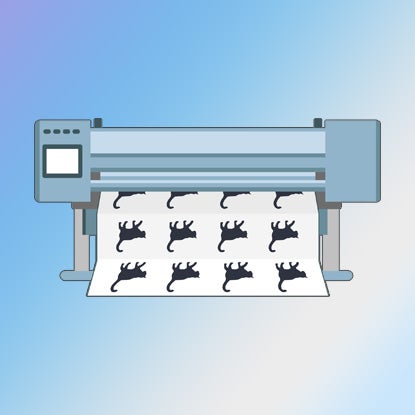
Step 4
Print!
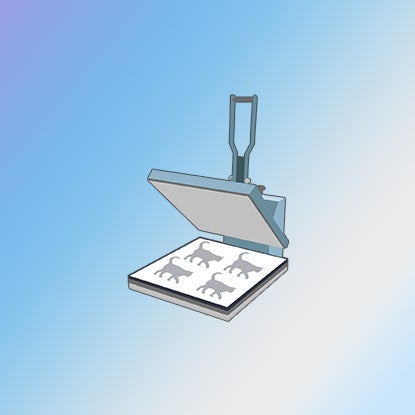
Step 5
The sublimation paper is placed on top of the sheets of foam.
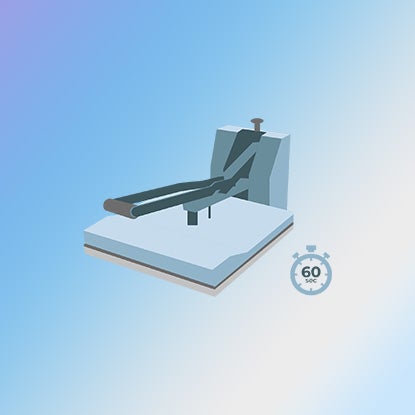
Step 6
They’re pressed under high heat for around a minute.
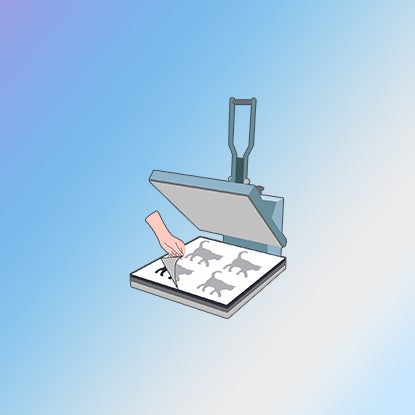
Step 7
We peel off the paper to reveal the design.
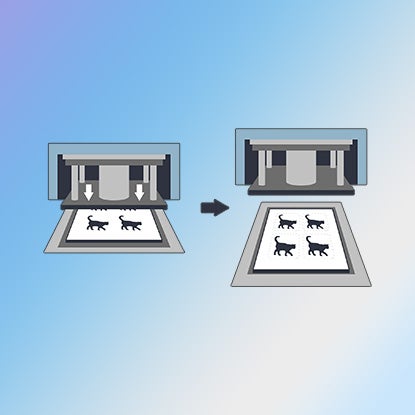
Step 8
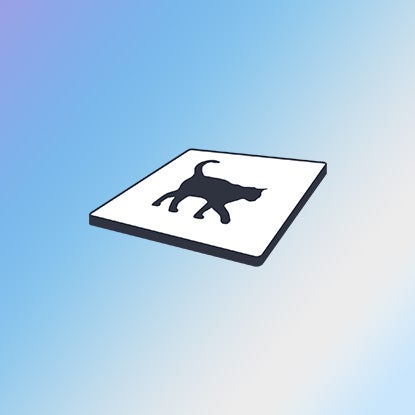
The mouse pads are die cut around the cut line.
Step 9
Final Product
The Bottom Line
Full bleed printing is how we make sure your design gets all the way to the edge of your all-over printed product without any borders. We print an area slightly larger than the final product, and cut off the difference – while making sure to keep the important parts of your design intact.
To ensure that your product looks its best, make sure your design fits within the maximum logo size listed on the product page, and double check the proof we send showing a mockup of your artwork. We do the rest for an all-over excellent result.
Natasha Lavender
Natasha is an experienced writer and editor who has covered topics including technology, health and safety, business, and pop culture. Her work has been published by Good Housekeeping magazine, Forbes, Success, and more.


