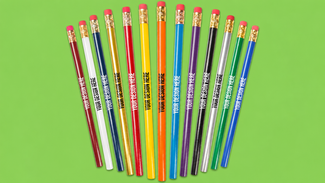
As much as we enjoy a highly specific themed stress toy, we also love a promo product that has mass appeal. Custom pencils are top of that all-star list: They’re popular with schools, trade shows, art festivals – anywhere you have people who like to write or doodle with the freedom to make a mistake.
Since we recently tested erasers, here we’re looking at the other side of the story, about how pencils are made, what they’re made of, how we add your design, and what all those numbers and letters mean.
What’s in a Pencil?
First thing to clear up: For anyone still worrying, pencils do not contain lead. We’ll get to why we still call it that.
Before the invention of the thing we call a pencil, people wrote with ink or by scratching sharp implements into softer surfaces. Sometimes they used lumps of lead. The first step towards the evolution of the modern pencil was the discovery of graphite in Borrowdale, England, in 1564. Graphite proved to be easier to write with than lead, because it sheds layers more easily. As an added bonus, it can be erased. (You can find out how effectively our erasers work by reading about our eraser experiment.) People initially thought graphite was a type of lead, which is possibly how we ended up calling the core of a pencil its lead.
A whole industry sprung up around this graphite mine, with people figuring out how to take raw graphite, turn it into a usable core, and add a case of string or wood. But it took the French Revolution to give us the modern pencil. In 1795, France was at war with most of Europe, including Britain, over the revolution. This meant that the French couldn’t access that sweet sweet pure Borrowdale graphite to make their pencils.
Luckily, the French did have a lot of leftover low-quality graphite and a resident genius called Nicolas-Jacques Conte. He put on his thinking chapeau and came up with the idea of mixing the low-quality graphite with clay and firing it to make the whole thing hard. Not only did this make a great pencil lead (one that still contained no lead), the clay made it easier to adjust the hardness or softness of the pencil core to produce lighter or darker lines. It was such a good idea that we still use this combo of graphite and clay today.
How Pencils Are Made
Step 1
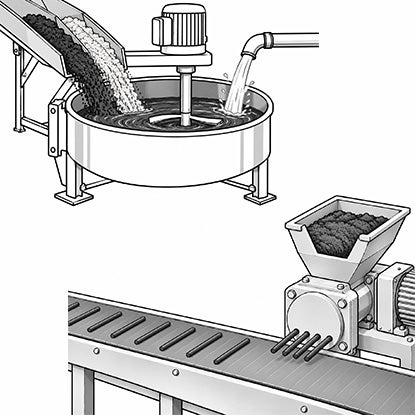
The graphite and clay are added in the correct ratio, mixed with water, and the resulting paste is pushed through an extruder, creating lots of long thin rods (future pencil cores.)
Step 2
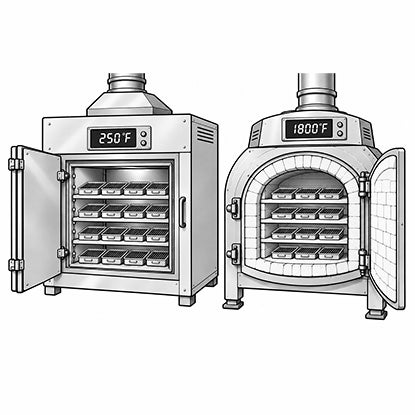
To make them hard enough to write, the rods are dried in an oven for a few hours at around 250F, then fired in a kiln at around 1800F for 45 minutes.
Step 3
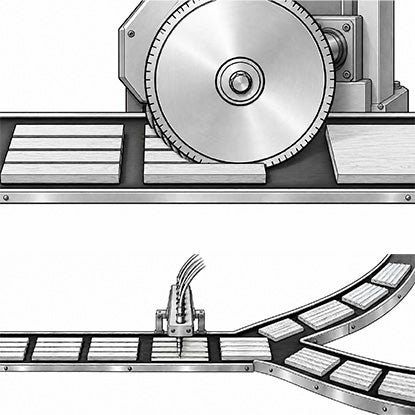
Meanwhile, small planks of wood (usually basswood, poplar, or white fir) are scored with long, thin, lengthwise channels – about 7 per slat. These are where the pencil cores will lie. Glue is added to the channels.
Step 4
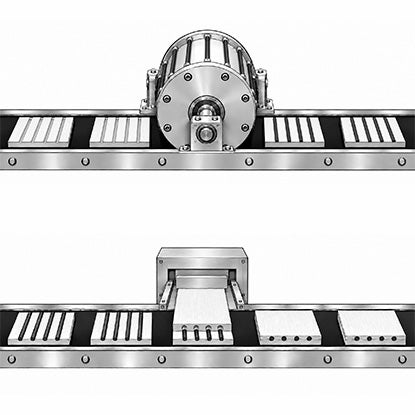
The hard rods are placed on a giant wheel, which rolls over half the planks, perfectly lining up one rod with one channel. The remaining, empty planks are placed on top, creating a pencil core sandwich. This is compressed under high pressure to glue it together.
Step 5
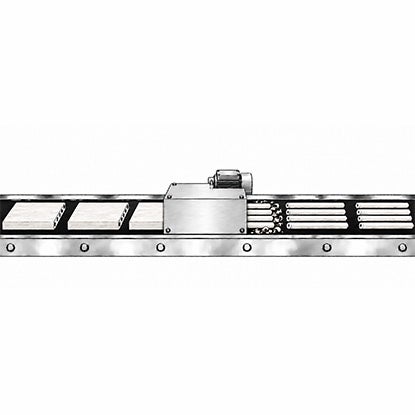
The newly secured pencil core sandwich is shaped and trimmed to create individual pencils.
Step 6
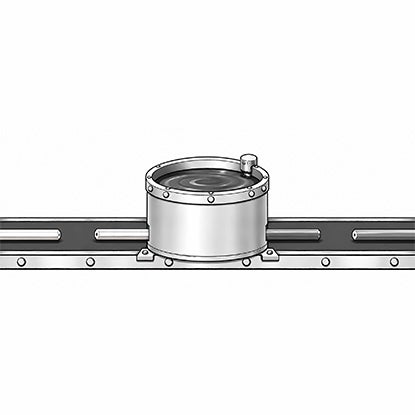
Each pencil receives multiple coats of paint.
Step 7
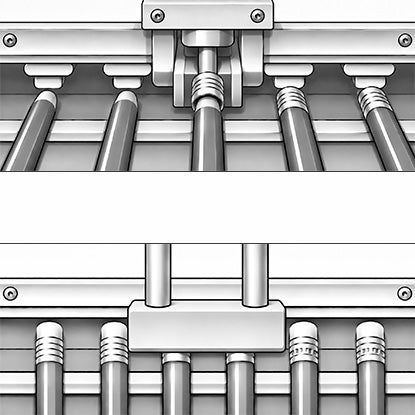
For pencils with erasers, the metal eraser holder is squeezed tight onto the pencil end, then the eraser is pushed into the holder, which is squeezed tight around it.
Step 8
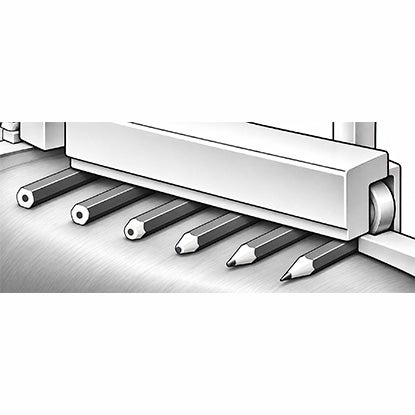
The pencils are rolled across a giant grinder to sharpen them.
Step 9
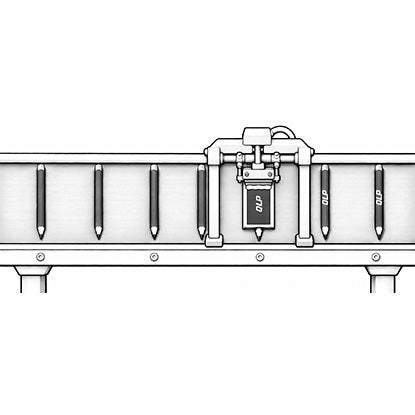
We add your custom design to each pencil!
Video
How We Add Your Imprint
Of course, you’re not just buying any pencils: You’re buying pencils customized with your design. There are three main ways we do that.
Screen printing
One of the oldest customization methods. Your design is turned into a stencil (the screen), which is placed over each pencil as it comes down a conveyor belt. A machine drags paint over the stencil, so that when the stencil is removed, only the design is left.
Full color
Your design is printed in full color, also known as CMYK. It’s like a fancier version of your home printer, and it prints either directly on the barrel or onto a paper wrap that is glued around each pencil.
Engraving
We use lasers to engrave your design into the barrel. This is only available on certain pencils that have wood or metal barrels, since burning plastic is a very bad idea.
What the Letters and Numbers on Pencils Mean
There are two systems used to rate a pencil’s color. Most places use the HB scale, while America uses the numeric system.
First, it helps to know that the more clay a pencil contains, the harder it is. Harder pencils produce a lighter colored line because they aren’t sloughing off as much of their core when you press them onto paper. The benefit of a harder pencil is that they stay sharper than soft pencils. Pencils with less clay (i.e. a higher proportion of graphite) are softer and produce darker lines.
The HB scale is all about recognizing this hard/soft spectrum, although in a slightly confusing way. H stands for hard and B stands for black, but think of it as soft because that’s what makes the lead darker.
HB is in the middle: it’s the standard pencil, the perfect balance between the hardness you need to get a sharp point, and the softness you need for a clear black line. Every other grade of pencil is either labeled H or B, depending on whether it contains a higher proportion of clay (H) or graphite (B). Each one also has a number to indicate where on the scale it falls. So a 3H pencil is harder than a 2H, but they’re both softer than a 3B, which is softer than a 2B. Just for fun, there’s also F, which falls between H and HB and can be sharpened to a fine point.
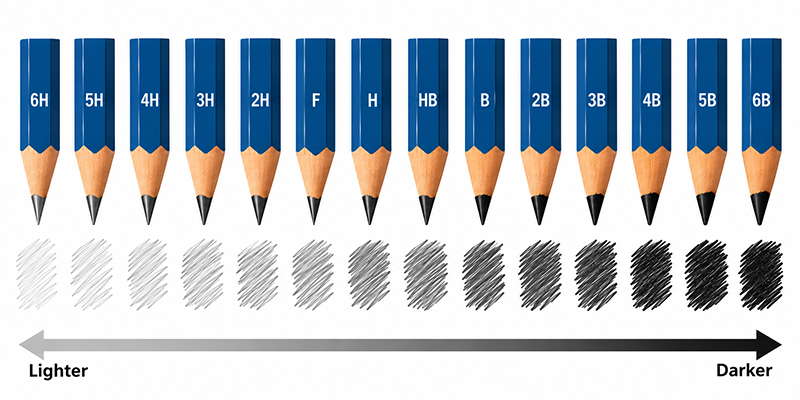
America, as usual, does things differently, using a numeric scale: The higher the number, the harder the pencil, and the lighter the mark. Whereas the HB scale typically goes up to 9H or 9B, the numeric scale usually only has five options: #1, #2 (the most common, as you probably know), #2.5, #3, and #4.
The Bottom Line
You’ll never see pencils as just useful sticks of wood again! We hope this has given you new appreciation for the humble pencil and why people can’t resist them at events. The lines a pencil leaves are erasable, but the gift of a custom pencil makes a permanent impression.
Natasha Lavender
Natasha is an experienced writer and editor who has covered topics including technology, health and safety, business, and pop culture. Her work has been published by Good Housekeeping magazine, Forbes, Success, and more.