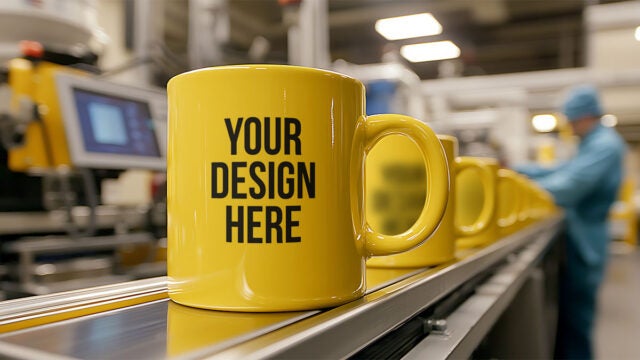
Holiday ornaments are made by Santa, the end.
That’s not true, and frankly that guy gets enough credit for Christmas already. That was just in case any kids are reading (in which case, good for you for starting your interest in manufacturing processes early!)
Mass produced ornaments are made using mechanized versions of traditional processes. It involves either shaping the material in a mold (glass or plastic) or cutting the shape out of your existing material (wood). Read on to find out more specifics.
Glass Ornaments
Glass ornaments originated in the small German town of Lauscha in 1847 – at least that’s what glass ornament-makers based in the small German town of Lauscha will tell you. Before that, people were decorating their Christmas trees with tasty but less sparkly fruit and nuts. (Also lit candles, which admittedly do sparkle but are nonetheless a bad move.)
Traditional glass ornaments are mouthmade – that’s like handmade but you use your mouth at least as much as your hands. You have to get the glass really hot and then blow into it to create a sort of glass balloon you can then form with a mold. People still make glass ornaments that way (in Lauscha, for example), but while it’s very impressive, it’s not conducive to scale. Here’s how glass ornaments are mass produced.
Best for: Being fancy, reflecting light
Process
-
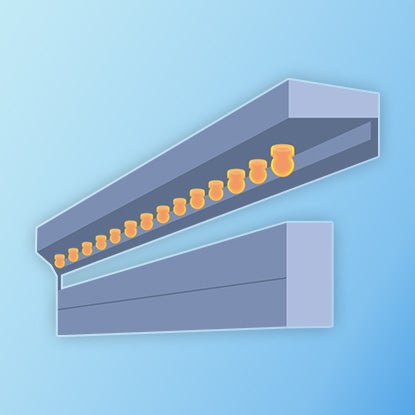

Glass is melted to form molten blobs called parisons (not to be confused with Parisians.)
-
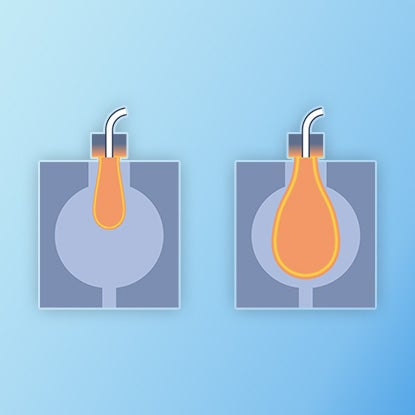
Each parison is positioned above a mold. As the molten glass drips slowly into the mold, it forms a hollow molten glass tube.
-
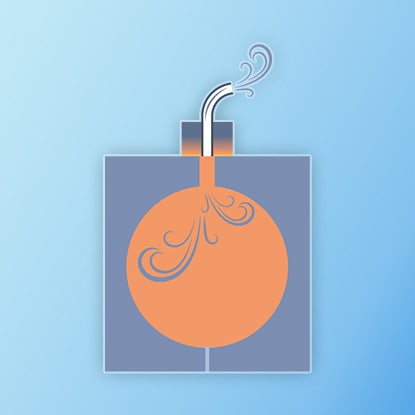
Air is blown through the hollow tube of glass so it inflates and fills the shape of the mold.
-
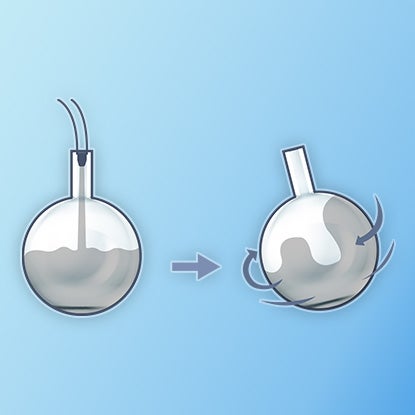
Once the glass has cooled, the inside is coated with silvering solution, which is exactly what it sounds like: it makes stuff look silver-colored and shiny.
-

The ornament is dipped in hot water to make the silvering solution stick to the glass.
-
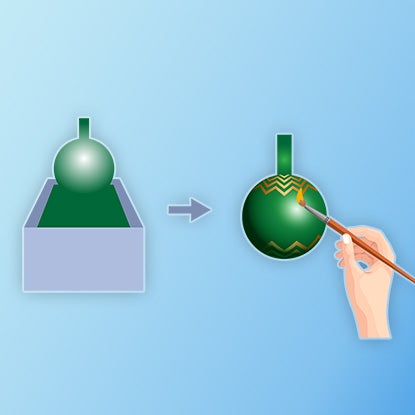
Decoration: A thin coat of lacquer is applied to the outside, followed by glitter and hand-painted details.
-
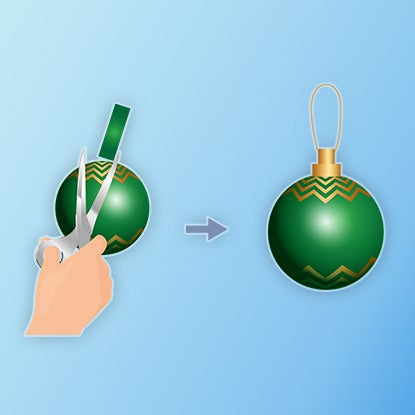
The long stem at the top is trimmed and the top with the string is added.
-
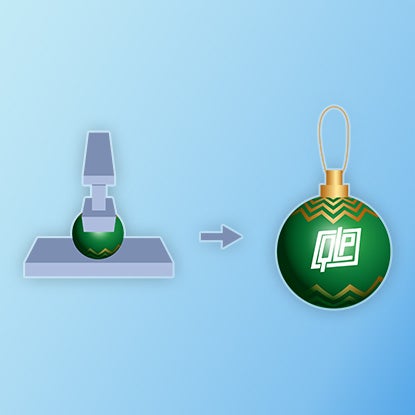
Customization: Your ornament is laser etched or pad printed (pictured) with your design.
Plastic Ornaments
Glass ornaments are pretty and sparkly, but they’re also fragile. By the 1930s, scientists were starting to experiment with synthetic materials that could be more durable than natural materials. (We covered this in our blog post on erasers, which I’m sure you have bookmarked and memorized.)
Over the following decades, plastics transformed from lab experiments performed by mad scientists, to novelties, to everyday essentials, and by the 1950s and ‘60s, plastic had found its way onto Christmas trees. Not just as ornaments: that’s when the first plastic Christmas trees were made. (Also, it was in 1972 that tinsel manufacturers switched to plastic from lead: yikes.) Plastic is an adaptable material, so you can use it to make ornaments in different ways, but one of the most common is injection molding.
Best for: Being shatterproof (we tested this)
Process
-
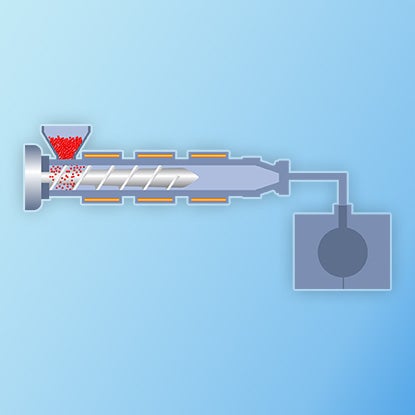
Your plastic pellets go in a reservoir (a funnel) called a hopper. Below the hopper is a long, horizontal heated chamber with a giant corkscrew going through it.
-
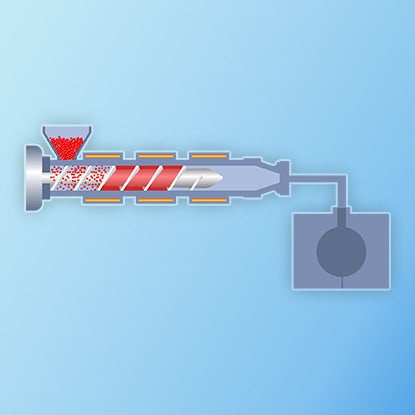
The pellets fall through the hopper into the heated chamber, where they are melted and propelled forward.
-
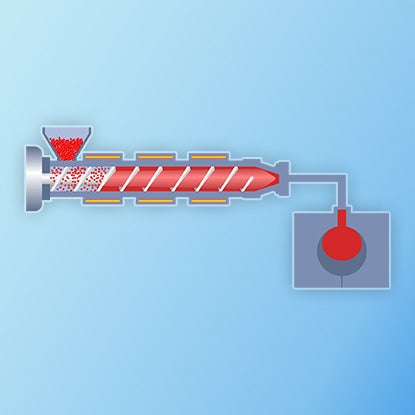
At the other end of the chamber is a nozzle and on the other side of that is the mold. The molten plastic is pushed through the nozzle into the mold.
-

Air is blown into the mold so the plastic coats the sides while keeping a hollow center.
-
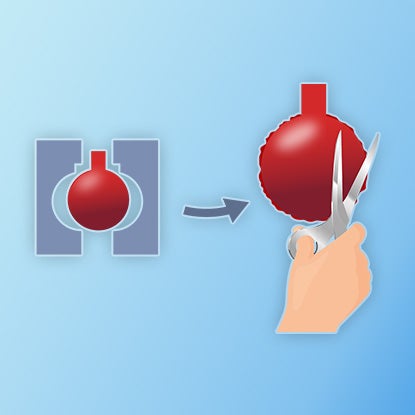
In the mold, the plastic is cooled so it solidifies. The mold is then pulled apart and the plastic item drops. Any excess is trimmed and jagged edges are smoothed.
-
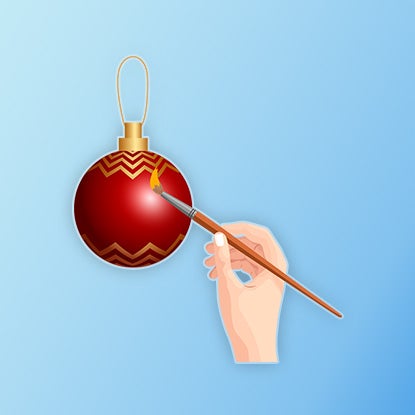
Decoration: The top with the string is added and the plastic ornament is hand-painted with details and glitter using paintbrushes and stencils.
-
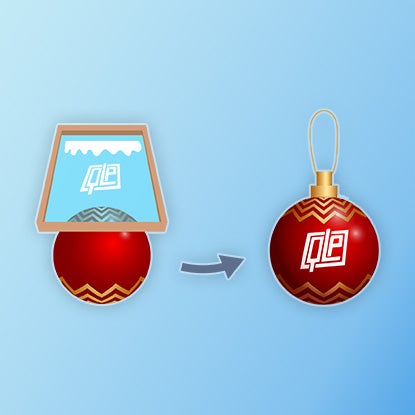
Customization: Your customization is added, usually with pad printing or screen printing (pictured).
Video
Injection molding is used for a lot of different promo products: You can see it in action in this video.
Wood Ornaments
“Is it weird to turn a piece of a tree into a snowflake, then hang it from a piece of plastic molded to look like a tree?” is the type of question that will get you politely asked to leave the Christmas carol concert.
Since wood is easier to come by than either glass or plastic (especially if you’re already in the process of cutting down a tree), people have probably been using wooden ornaments for as long as they’ve had Christmas trees. Today, many mass produced ornaments are made from basswood or man-made MDF (medium-density fiberboard), which didn’t take off in popularity until the 1960s to ‘80s.
Best for: Rustic vibes, reminding the tree who’s boss
Process
-
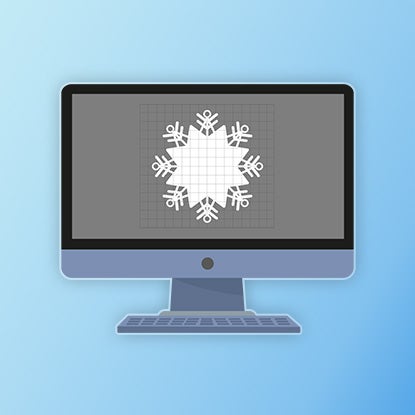
The design is programmed into a computer, which tells the laser how to cut the shape.
-
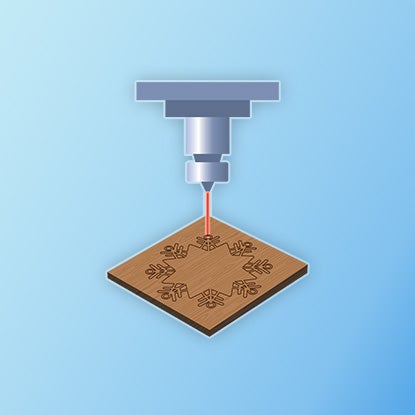
The laser cuts the shape, including any tiny details (that’s why lasers are good at this.)
-
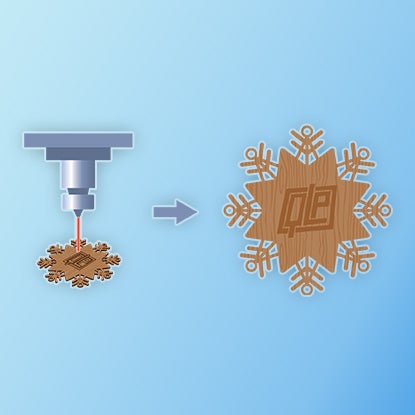
Customization: Your design is either laser etched (pictured) or pad printed.
The Bottom Line
The materials used to make ornaments have evolved as different manufacturing techniques have become available (although they’re still blowing glass the old-fashioned way in Germany.) While they each have different strengths, they can also fit together on the same tree. And now you can fill any lull in conversation at Christmas parties with useful information about three different types of ornament-manufacturing processes – tell your family they’re welcome from us.
Natasha Lavender
Natasha is an experienced writer and editor who has covered topics including technology, health and safety, business, and pop culture. Her work has been published by Good Housekeeping magazine, Forbes, Success, and more.