
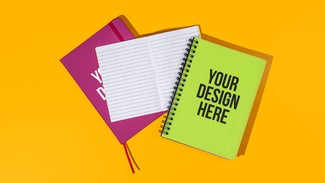
The key to remembering new information is to write it down – which makes notebooks a very memorable giveaway.
Not all notebooks are created equal. We’re going to explain the differences between them so you can buy the best one for your event (and impress people with your knowledge of different book bindings, if that’s your thing.)
Now enjoy your last few moments of being able to look at notebooks like a normal human, instead of going, “Ah, a hollow back case binding, nice.”
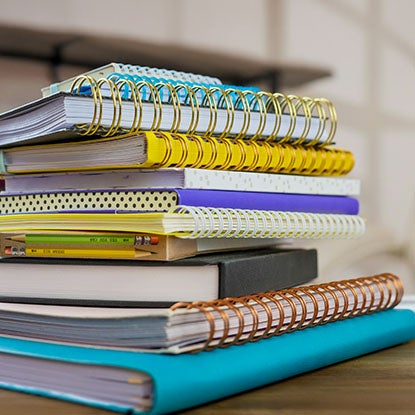
Types of Promo Notebook
If you’re not someone who thinks a lot about different styles of notebook, don’t worry, because we are and we’re excited to explain them. They get their names from the type of binding used to hold all the pages together.
Case Bound
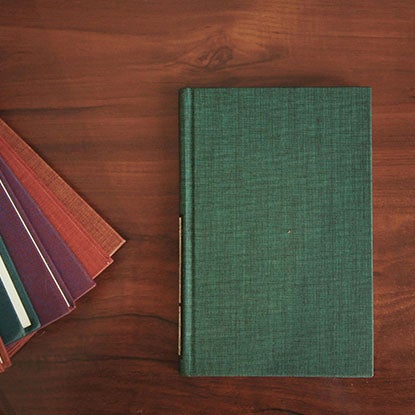
This is the same binding method used for hardcover books. Case bound notebooks tend to have hard covers (which is why the names are sometimes used interchangeably) made of stiff board wrapped in fabric or paper.
The quick way to tell if a notebook is case bound is to look for endpapers in the front and back that are attached to the inside of the hard cover and to the first and last pages. You can also look down the spine: if you see stitches or a piece of fabric between the pages and cover, it’s probably case bound.
Use for: Events where you want to impress: The extra steps case binding requires produce sturdy, quality notebooks with nice finishing details.
Perfect Bound
Perfect binding is also used to make paperback books. (No one can agree on where the name “perfect” came from, which is useful.)
Perfect bound notebooks typically use softer covers than case bound notebooks (but not always) and are easier to make, without all the endpapers and sewing (we’ll talk about that in more detail.) However, like case bound notebooks, they can hold a lot of pages, and while they lose some of the fine details of case binding, they’re still substantial.
Use for: Perfect bound books can be thick and durable but relatively lightweight, which makes them useful for events where people end up carrying their swag around, like trade shows.
Saddle Stitch
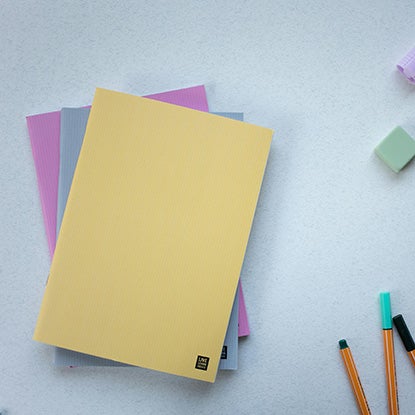
The simplest kind of notebook to make, saddle stitch notebooks are essentially piles of paper folded in half and sewn or stapled together along the center pages. They can’t hold as many pages as other types, but they’re also less expensive and lighter.
Use for: Simple, small, and inexpensive, these notebooks are a good choice for kids’ events.
Spiral
Technically, a spiral notebook uses a specific type of binding method with a solid coil wound through holes in the paper. However, the term is sometimes used to describe a wire-o notebook.
Although wire-o sounds like cereal for robots, it’s a binding method that works sort of like a ring binder. You have a series of loops along a spine, and they start out open so you can slot your hole-punched paper over them, and then you crimp them permanently shut. The way to tell if a notebook is a wire-o is if each of the little loops that go through the holes has two strands.
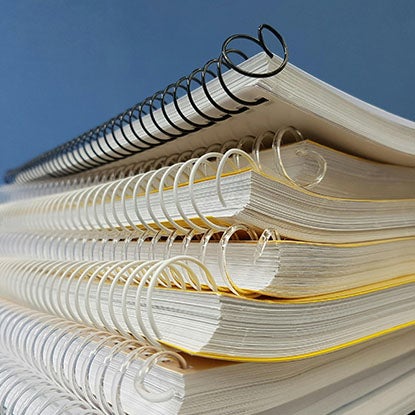
The big advantage of notebooks with spiral spines is that the loops allow you to easily lay the notebook flat. And while you don’t get the nice covered spine effect, you still have lots of cover and imprint options to choose from.
Use for: Conferences or student events, where people need to write without the annoyance of wrestling their notebook open at the same time.
Composition Books
This is a notebook style rather than a binding method, but it’s so popular we couldn’t not talk about it. Composition books are interesting (no, really) because they combine techniques from the different binding methods we’ve already mentioned. We’ll get to all that.
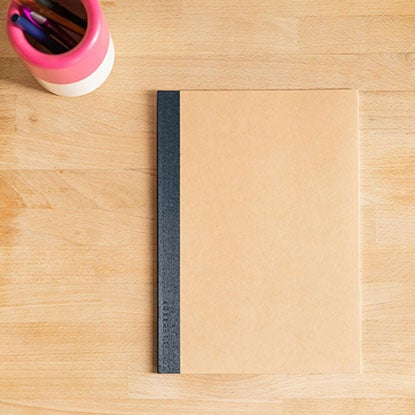
The defining features of a composition book are the laminated paperboard cover (often with that classic marbled print); the ruled paper; the binding that runs along the spine; and the stitches down the center pages.
Use for: While composition notebooks immediately make a lot of people in the U.S. think of school, they’re a classic choice whenever you need inexpensive and reliable notebooks for a lot of people.
Adding Your Design to Notebooks
If you thought we were nerdy about notebook styles, get ready to hear us talk about how we add your design.

Ink Print
We use pad printing and screen printing to print on your notebooks. As you’ll see in these blog posts we wrote, pad printing works like a stamp and screen printing uses a stencil. These techniques are great for designs with one or two colors, and have the advantage of being fast and durable.

Full Color
The other type of printing we use is full color printing. And yes, we have a blog post about this too. This is like a fancier version of your home printer, rendering your design with all its colorful detail. It looks striking and it holds up well when laminated.

Laser Engraved
We burn your design into the notebook cover using a laser. Lasers only work on certain materials, notably metal and wood. Well, a person could try lasering other materials, but we don’t recommend it. You can find out more on this blog post. The downside of laser engraving is that you can’t choose a color, and the upside is that it lasts for a really long time.
Deboss
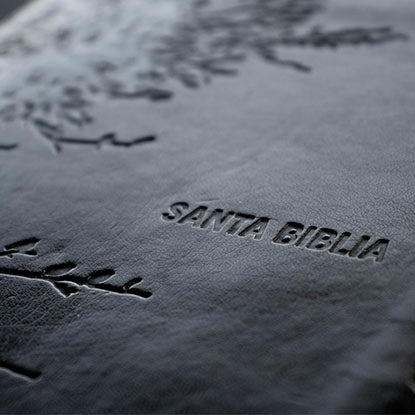
Debossing is when you depress the material (with a press, not by reading it “The Bell Jar”) to make raised and sunk sections that create a pattern. So say your design is a heart: the heart shape would be pressed down to make that area look sunken, while the areas around it would stay raised. It’s the twin of embossing, in which you make the pattern by sinking the area around the shape while your design stays raised. As with engraving, it doesn’t use ink so you can’t choose a color, but it lasts a long time.
How Different Notebooks Are Made
This is the really fun bit, where we explain how the notebooks are actually made. For all of these, assume you’ve already printed the paper with the relevant design (e.g. lines, squares, any headings) including a small margin.
Case Bound Notebooks
To make the inside:
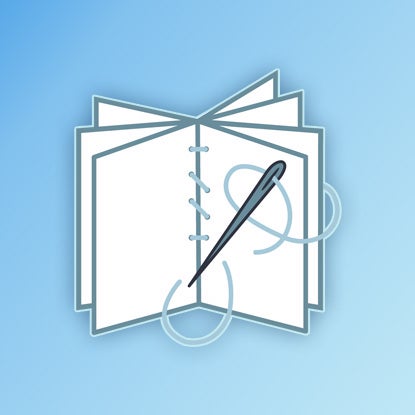
The printed paper is folded in half and grouped into small sections. Each pile of paper is sewn or stapled along its center pages. These small sections of paper are called signatures.
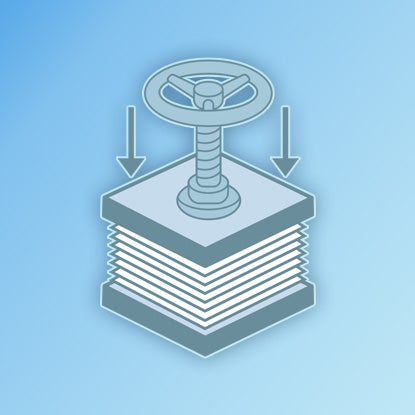
The signatures are stacked in order (very important if there’s text!) They are all squashed together under a big press.
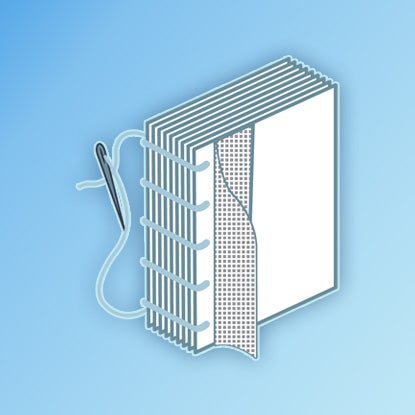
The signatures are sewn or glued together down the folded edges. This block of attached papers is called, appropriately, a book block. A layer of gauze is glued along the spine.
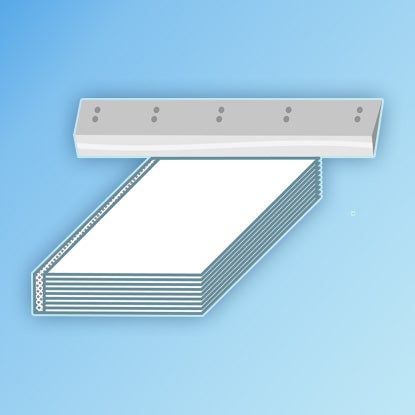
The book block is trimmed on all three open sides to make neat edges (hence the margin when printing!)
To make the cover:
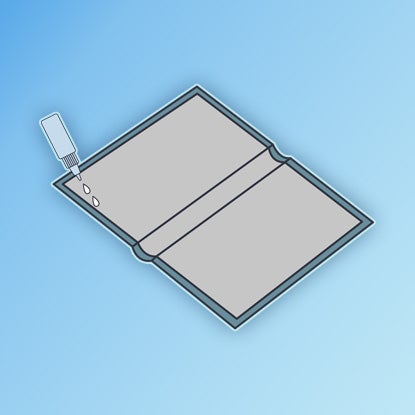
Stiff book board is wrapped in your exterior material of choice: often paper, textile, or plastic.
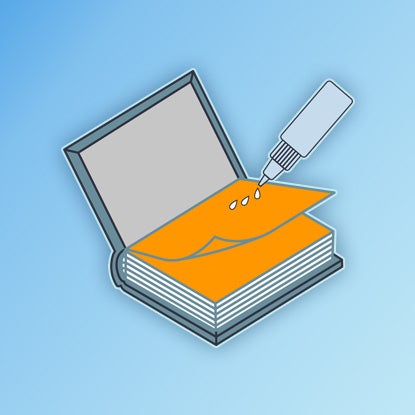
Endpapers are used to attach the front and back insides of the cover to the first and last pages of the book block using strong adhesive.
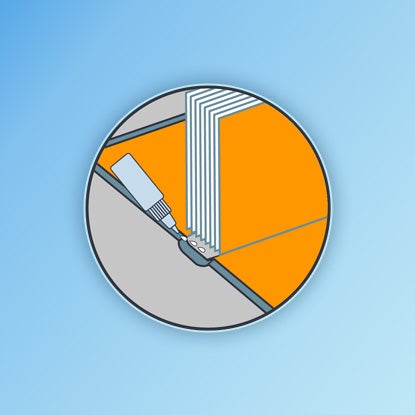
The spine of the book block is glued to the case for a tight back style, or left loose for a hollow back style.
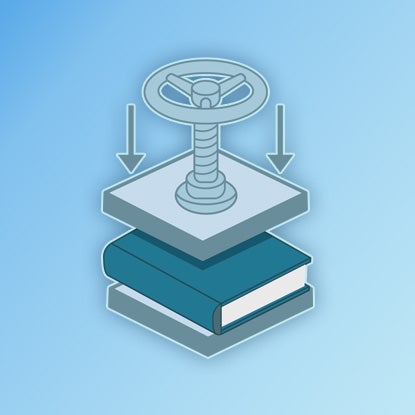
The notebook is pressed again to help the glue stick.
Perfect Binding
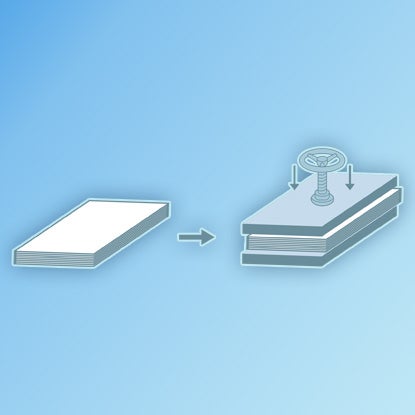
The printed pages are stacked in order and carefully aligned, then pressed.
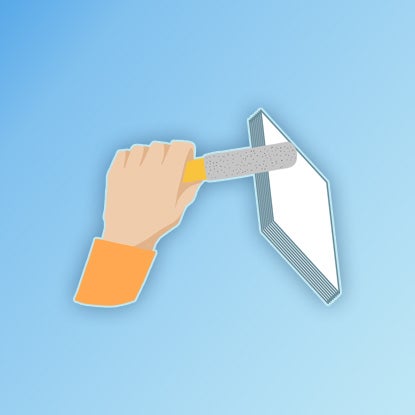
The spine edge is roughed up using sandpaper.
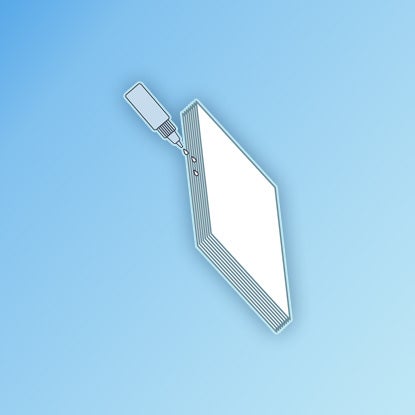
Glue is applied to the spine edge (the roughness helps the paper absorb the glue more effectively.)
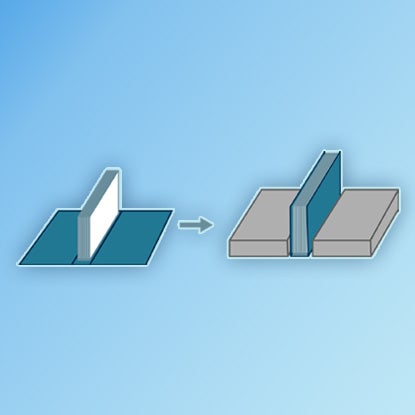
While the glue is wet, the cover is pushed onto the spine. The front and back of the cover are wrapped around the notebook.
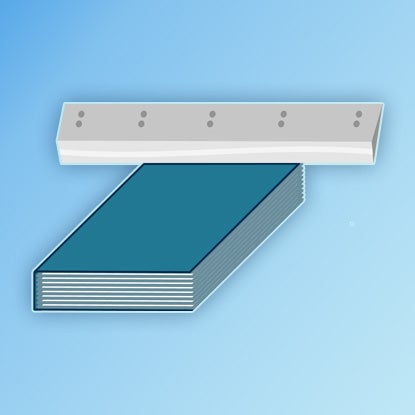
The notebook is cut on three edges for a perfect neat finish.
Saddle Stitch
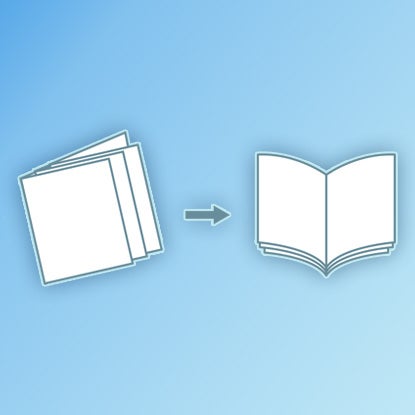
The pages are folded in half, opened up again, and laid flat on top of each other.

The stack of pages is placed on top of the cover and everything is carefully aligned.
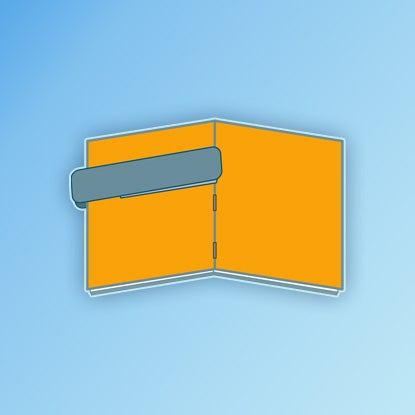
The pages and cover are stapled or sewn down the center pages.
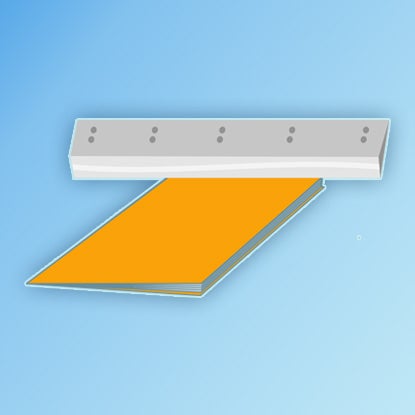
The edges are trimmed on three sides for a neat finish.
Spiral and Wire-O
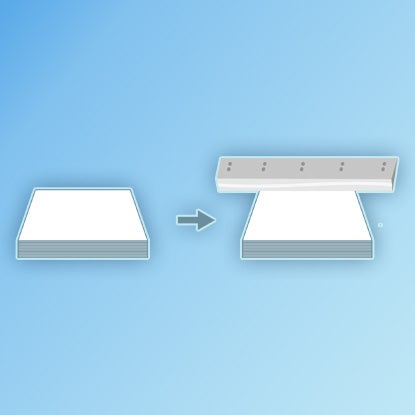
The papers and soft cover are stacked in order and trimmed to make nice clean edges – including shaping the corners if necessary.
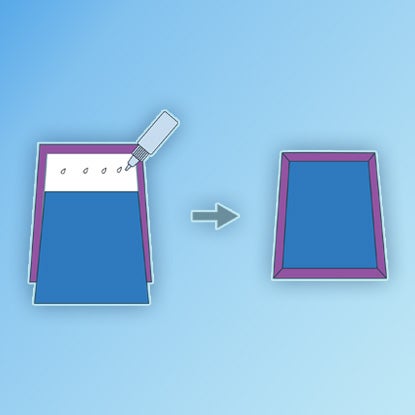
For a hard cover, the cover is made separately by gluing your outer material (e.g. paper or fabric) to stiff board, then sticking a cover sheet on the inside.
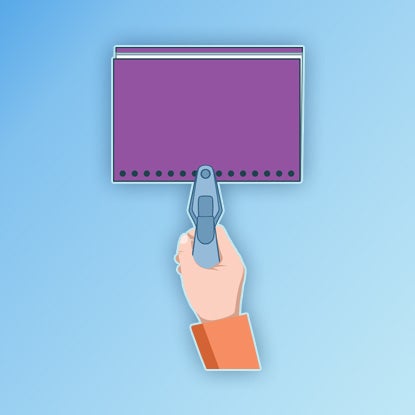
Holes are punched in the papers and cover.
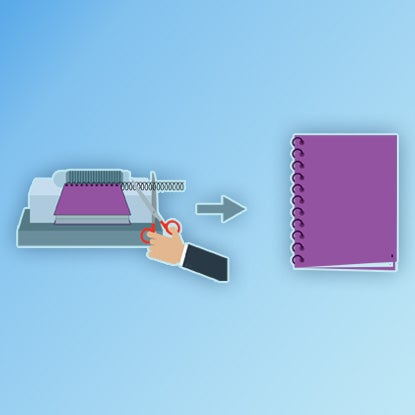
Spiral: A solid coil is fed through the holes and then trimmed at the end. This is maybe the most satisfying part of the process to watch.
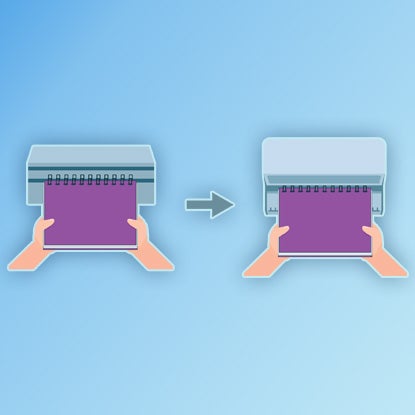
Wire-o: The holes in the paper are threaded over the open loops, which are then crimped shut.
Composition Books
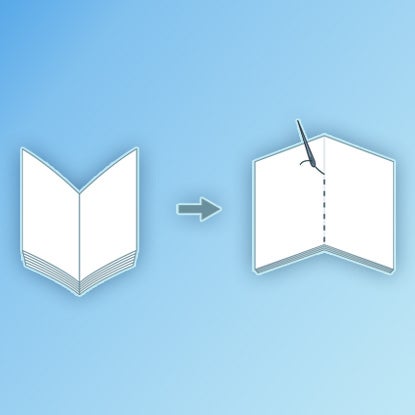
Pages may be combined into a book block and pressed (like with case binding), but more often they’re laid flat and stitched down the middle, like with saddle stitch.
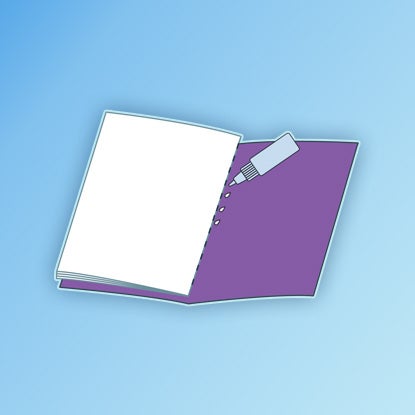
The pages are glued to the cover along the spine edge. (As with perfect binding, there are no endpapers.)
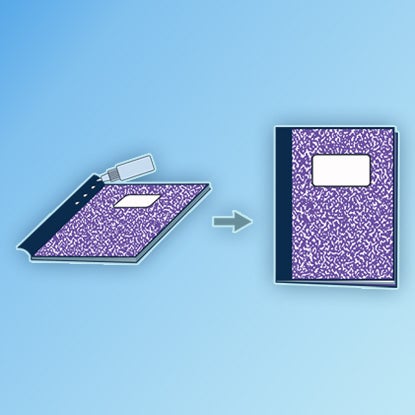
A strip of binding paper is folded around the edge of the spine on the outside and glued down.
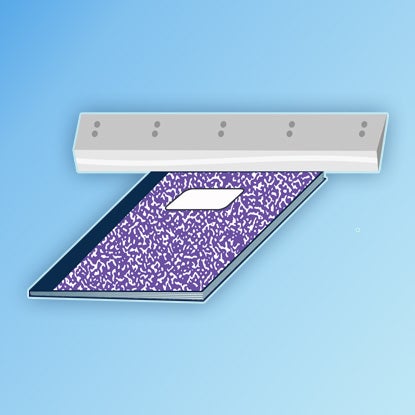
The three open edges are trimmed to create a neat finish, and the corners are stamped into a rounded edge.
The Bottom Line
We hope we’ve made it easier for you to choose your next promo notebooks – and given you something to talk about in awkward silences. (Just us?)
Natasha Lavender
Natasha is an experienced writer and editor who has covered topics including technology, health and safety, business, and pop culture. Her work has been published by Good Housekeeping magazine, Forbes, Success, and more.


